
10 Lighting Tricks for Stunning Product Photos
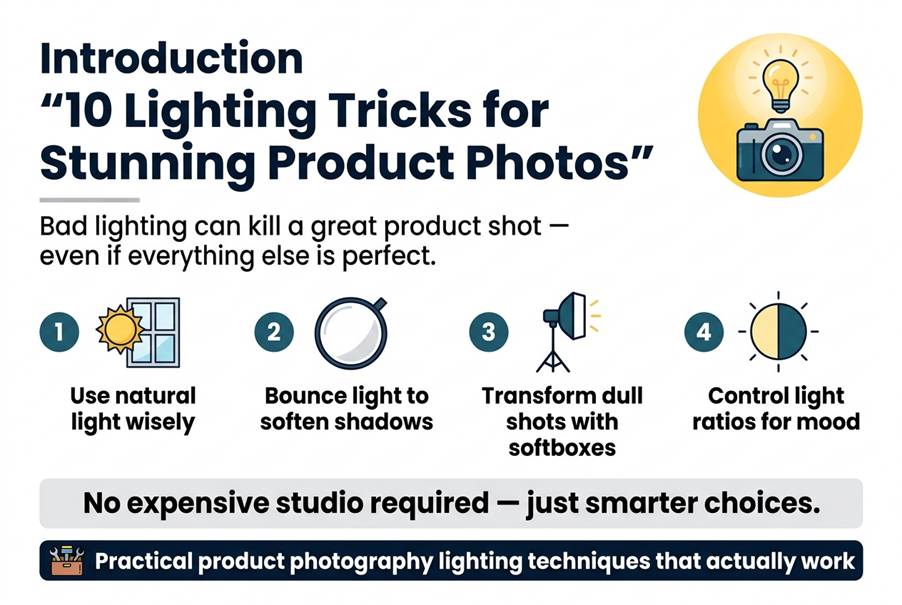
Bad lighting can kill a great product shot — even if everything else is perfect. If you’re a small business owner, e-commerce seller, or beginner photographer trying to make your products look their best, lighting is the one skill that changes everything fast.
This guide covers 10 practical product photography lighting techniques that actually work. You’ll learn how to use natural light without it working against you, how reflectors and softboxes can transform flat, dull shots, and how to control light ratios to set the right mood for your brand. No expensive studio required — just smarter choices with the gear you already have or can grab on a budget.
Master Natural Light for Effortless Product Photography
Find the Best Window Light for Soft, Even Illumination
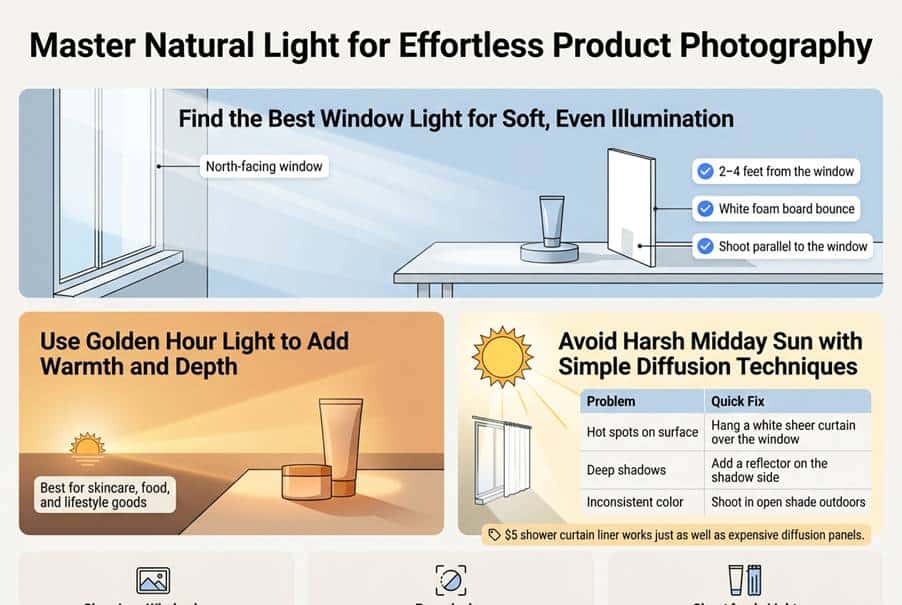
North-facing windows are a product photographer’s best friend. They deliver consistent, diffused light throughout the day without harsh directional shadows. Place your product perpendicular to the window rather than directly facing it — this creates gentle side illumination that reveals shape and dimension beautifully.
Quick placement tips:
- Position products 2–4 feet from the window for optimal softness
- Use a white foam board on the opposite side to bounce light back into shadows
- Shoot parallel to the window for the most flattering, even coverage
Use Golden Hour Light to Add Warmth and Depth
The hour after sunrise and before sunset produces warm, low-angle light that adds richness to lifestyle product shots. Skincare, food, and lifestyle goods look especially stunning bathed in this amber glow.
Avoid Harsh Midday Sun with Simple Diffusion Techniques
Direct midday sun creates unflattering hot spots and deep, ugly shadows. Fix it fast with these easy solutions:
solutions:
| Problem | Quick Fix |
| Hot spots on surface | Hang a white sheer curtain over the window |
| Deep shadows | Add a reflector on the shadow side |
| Inconsistent color | Shoot in open shade outdoors |
A $5 shower curtain liner works just as well as expensive diffusion panels.
Use Reflectors to Fill Shadows and Boost Product Appeal
Choose the Right Reflector Color for Your Product
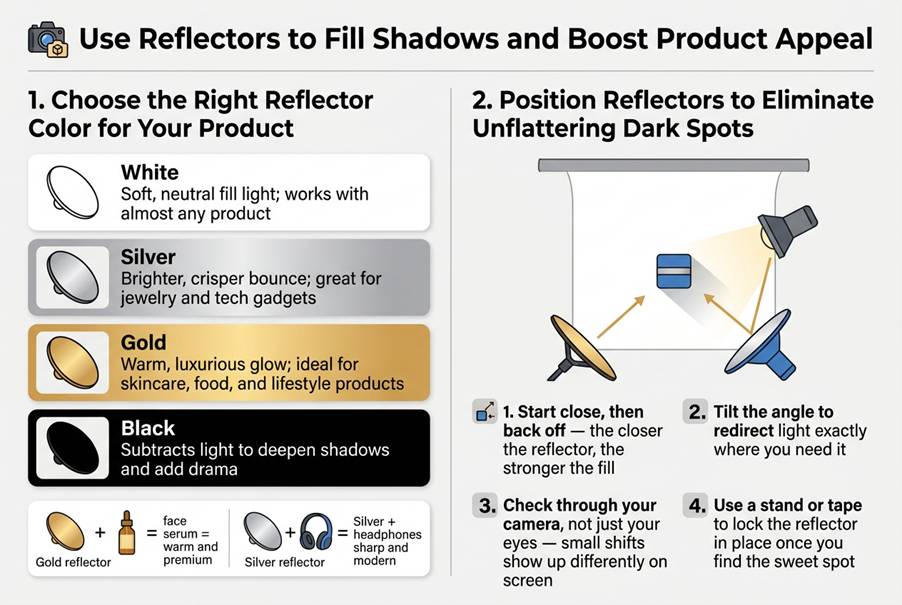
Reflector color makes a bigger difference than most photographers expect. Here’s a quick breakdown:
| Reflector Color | Best For |
| White | Soft, neutral fill light; works with almost any product |
| Silver | Brighter, crisper bounce; great for jewelry and tech gadgets |
| Gold | Warm, luxurious glow; ideal for skincare, food, and lifestyle products |
| Black | Subtracts light to deepen shadows and add drama |
Match your reflector to your product’s personality. A gold reflector on a face serum feels warm and premium, while silver on headphones feels sharp and modern.
Position Reflectors to Eliminate Unflattering Dark Spots
Dark shadows on the opposite side of your light source are usually the problem. Place your reflector directly across from your main light, angling it slightly toward the product’s shadow side.
A few tips to nail the placement:
- Start close, then back off — the closer the reflector, the stronger the fill
- Tilt the angle to redirect light exactly where you need it
- Check through your camera, not just your eyes — small shifts show up differently on screen
- Use a stand or tape to lock the reflector in place once you find the sweet spot
Harness the Power of Softboxes for Professional Results
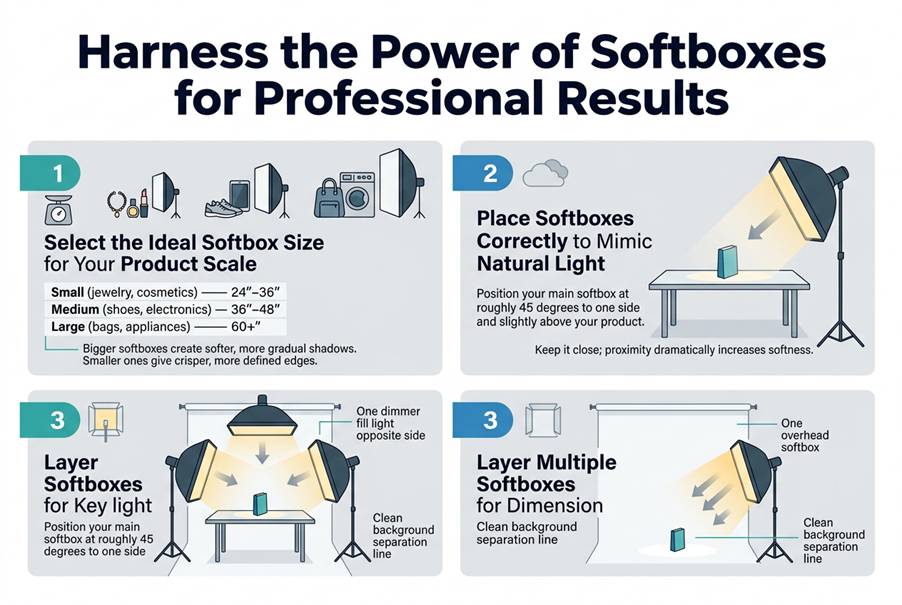
Select the Ideal Softbox Size for Your Product Scale
Softbox size directly affects how light wraps around your product:
| Product Size | Recommended Softbox |
| Small (jewelry, cosmetics) | 24″–36″ |
| Medium (shoes, electronics) | 36″–48″ |
| Large (bags, appliances) | 60″+ |
Bigger softboxes create softer, more gradual shadows. Smaller ones give crisper, more defined edges.
Place Softboxes Correctly to Mimic Natural Light
Position your main softbox at roughly 45 degrees to one side and slightly above your product. This mimics the quality of a bright overcast sky — soft but directional. Keep it close; proximity dramatically increases softness.
Layer Multiple Softboxes for Dimension and Clarity
A single light source often flattens your product. Add a second, dimmer softbox on the opposite side to gently lift shadows without killing depth. A third overhead softbox can separate the product from the background cleanly.
Reduce Glare on Shiny Products with Angled Softbox Placement
Reflective surfaces like glass or polished metal catch everything. Angle your softbox slightly away so the reflection falls just outside the camera’s frame. Rotating it 10–15 degrees can make a massive difference — check your live view before shooting.
Use Backlighting to Create Striking Product Silhouettes
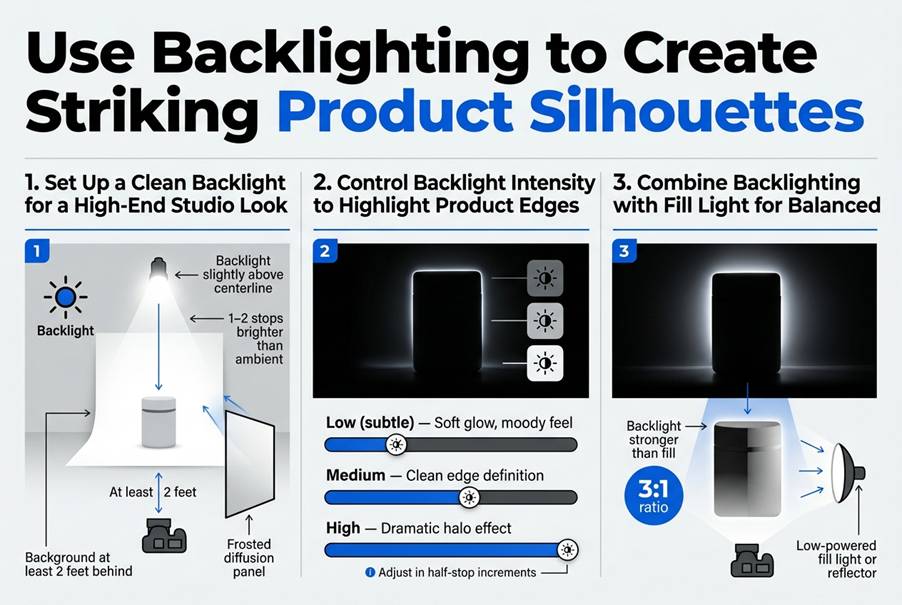
Set Up a Clean Backlight for a High-End Studio Look
Position your light source directly behind the product, aimed toward the camera. A white seamless background works perfectly here. Keep the backlight slightly above the product’s centerline to avoid lens flare while still wrapping light around the edges.
- Use a strobe or LED panel at roughly 1–2 stops brighter than your ambient exposure
- Keep the background at least 2 feet behind the product to maintain separation
- A frosted diffusion panel over your backlight softens harsh hotspots
Control Backlight Intensity to Highlight Product Edges
The rim of light around your product is everything in this technique. Too much power and the edges blow out; too little and the effect disappears.
| Backlight Power | Result |
| Low (subtle) | Soft glow, moody feel |
| Medium | Clean edge definition |
| High | Dramatic halo effect |
Dial in your intensity with small adjustments—half-stop increments make a real difference.
Combine Backlighting with Fill Light for Balanced Exposure
A pure backlight leaves your product’s front face too dark for most commercial shots. Add a low-powered fill light or reflector at the front to bring detail back without killing the backlit drama. Aim for a 3:1 ratio—backlight significantly stronger than fill.
Apply Side Lighting to Reveal Texture and Fine Details
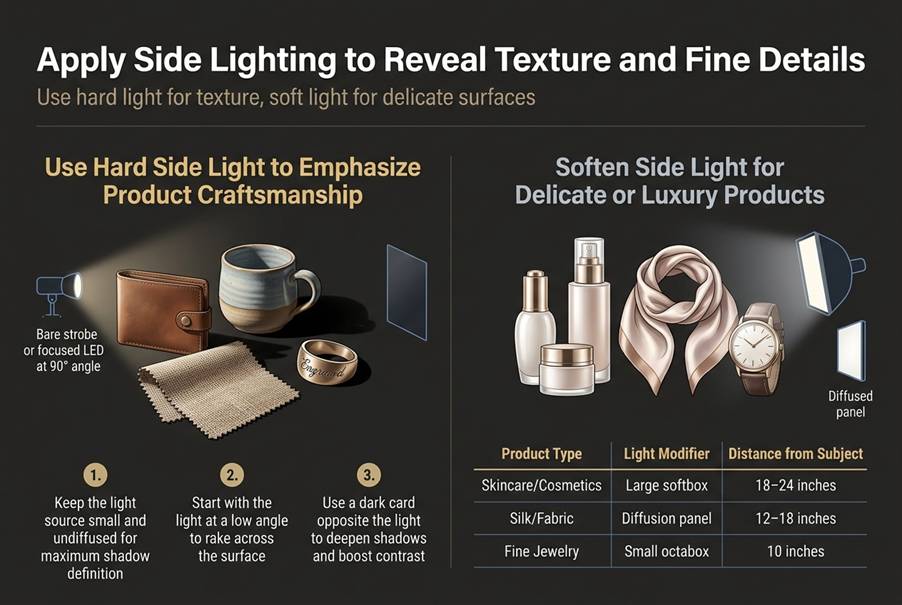
Use Hard Side Light to Emphasize Product Craftsmanship
Hard side lighting is your best friend when shooting products where texture tells the story — leather wallets, handmade ceramics, woven fabrics, or engraved jewelry. Position a bare strobe or focused LED at roughly 90 degrees to your product, keeping it close to highlight surface imperfections, stitching, and grain.
Key tips:
- Keep the light source small and undiffused for maximum shadow definition
- Start with the light at a low angle to rake across the surface
- Use a dark card opposite the light to deepen shadows and boost contrast
Soften Side Light for Delicate or Luxury Products
Hard light can feel harsh on products that need to feel premium — think skincare, silk scarves, or fine watches. A large softbox or diffused panel placed to the side wraps light gently across the product, revealing subtle contours without brutal shadows.
| Product Type | Light Modifier | Distance from Subject |
| Skincare/Cosmetics | Large softbox | 18–24 inches |
| Silk/Fabric | Diffusion panel | 12–18 inches |
| Fine Jewelry | Small octabox | 10–15 inches |
Keep the light slightly forward of 90 degrees so it gently kisses the surface rather than cutting across it aggressively.
Experiment with Colored Gels to Elevate Brand Aesthetics
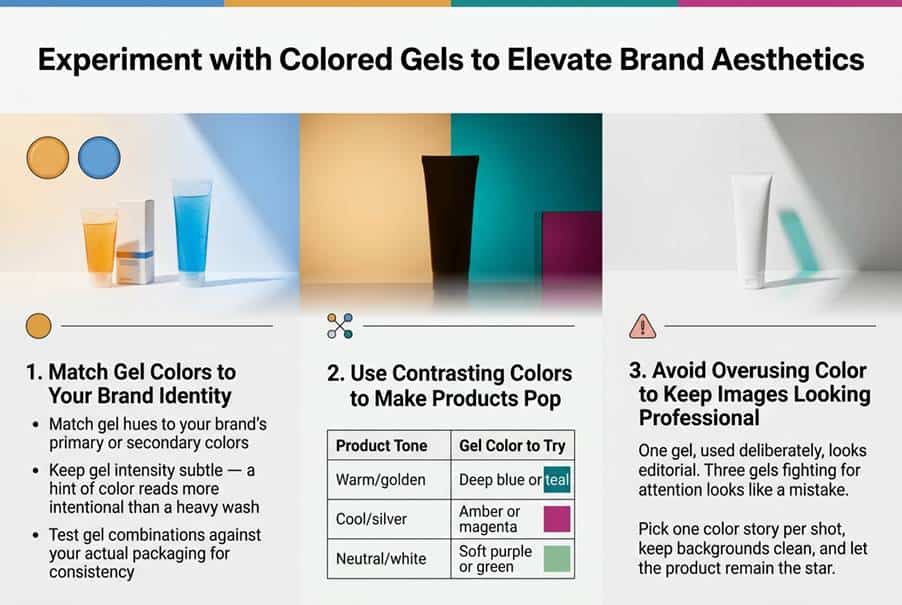
Match Gel Colors to Your Brand Identity
Colored gels are a simple but powerful way to tie your product photos directly to your brand’s visual language. If your brand runs on warm, earthy tones, a subtle amber gel can reinforce that feeling without saying a word. Cool-toned tech brands? A soft blue gel instantly signals precision and modernity.
- Match gel hues to your brand’s primary or secondary colors
- Keep gel intensity subtle — a hint of color reads more intentional than a heavy wash
- Test gel combinations against your actual packaging for consistency
Use Contrasting Colors to Make Products Pop
Placing a colored gel behind or beside your product in a complementary or contrasting color creates instant visual tension — in a good way. A warm product on a cool blue background, for example, draws the eye naturally.
| Product Tone | Gel Color to Try |
| Warm/golden | Deep blue or teal |
| Cool/silver | Amber or magenta |
| Neutral/white | Soft purple or green |
Avoid Overusing Color to Keep Images Looking Professional
One gel, used deliberately, looks editorial. Three gels fighting for attention looks like a mistake. Pick one color story per shot, keep backgrounds clean, and let the product remain the star.
Control Light Ratios to Shape Mood and Perception
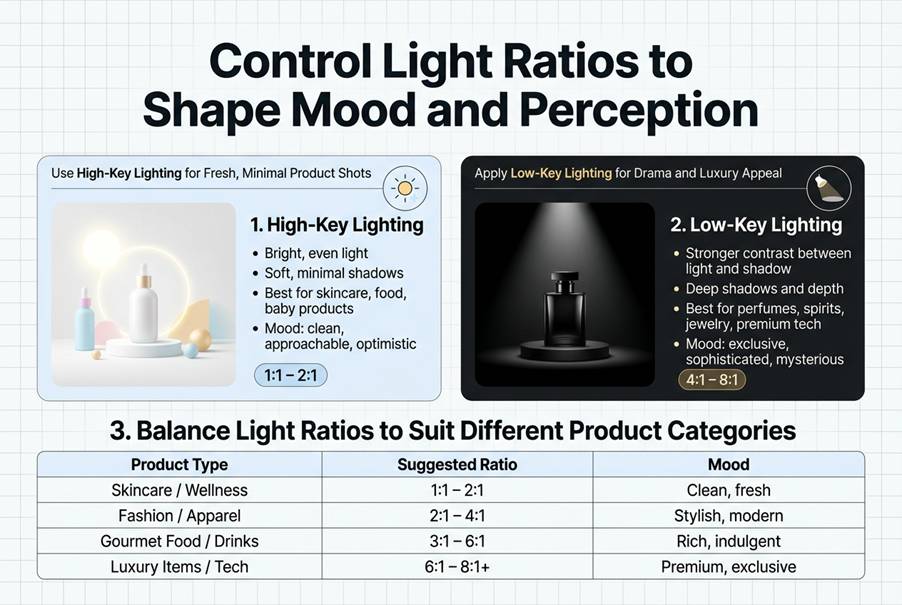
Use High-Key Lighting for Fresh, Minimal Product Shots
High-key lighting floods your scene with bright, even light, keeping shadows soft and minimal. It’s perfect for skincare, food, baby products, and anything that needs to feel clean, approachable, and optimistic. Aim for a light ratio of 1:1 or 2:1 between your key and fill lights to keep the mood airy.
Apply Low-Key Lighting for Drama and Luxury Appeal
Low-key setups use a stronger contrast between light and shadow, typically a 4:1 or 8:1 ratio. This creates depth and mystery — ideal for perfumes, spirits, jewelry, and premium tech. A single focused key light against a dark background instantly communicates exclusivity and sophistication.
Balance Light Ratios to Suit Different Product Categories
Matching your ratio to your product category makes a huge difference in how buyers respond emotionally.
| Product Type | Suggested Ratio | Mood |
| Skincare / Wellness | 1:1 – 2:1 | Clean, fresh |
| Fashion / Apparel | 2:1 – 3:1 | Lifestyle, natural |
| Spirits / Jewelry | 4:1 – 8:1 | Dramatic, luxury |
| Food & Beverage | 2:1 – 3:1 | Warm, inviting |
Start with these as baselines, then adjust based on your brand’s personality.
Eliminate Unwanted Glare on Reflective Surfaces
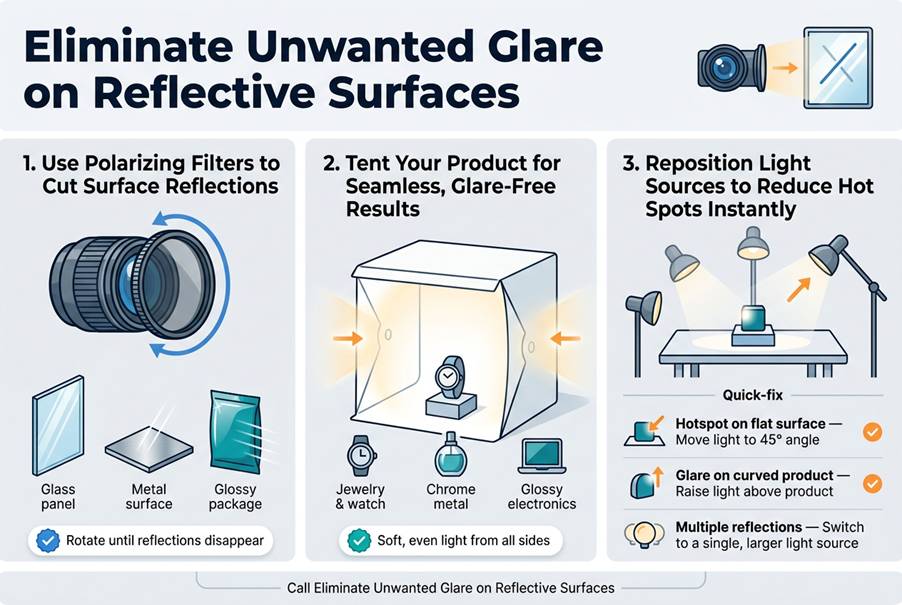
Use Polarizing Filters to Cut Surface Reflections
A polarizing filter screws onto your lens and blocks light waves traveling at specific angles — the exact angles that create harsh glare on glass, metal, and glossy packaging. Simply rotate the filter while looking through your viewfinder until reflections disappear. It’s like magic, but it’s just physics.
Tent Your Product for Seamless, Glare-Free Results
A light tent (or DIY version with white diffusion fabric) wraps your product in soft, even light from all sides, eliminating harsh hotspots completely. This works especially well for:
- Jewelry and watches
- Perfume bottles
- Chrome or polished metal products
- Glossy electronics
The light hits the tent walls first, scattering before it reaches your product — no direct rays, no glare.
Reposition Light Sources to Reduce Hot Spots Instantly
Before buying filters or tents, try moving your lights. A simple angle adjustment often solves 80% of glare problems.
| Problem | Quick Fix |
| Hotspot on flat surface | Move light to 45° angle |
| Glare on curved product | Raise light above product |
| Multiple reflections | Switch to a single, larger light source |
Start with repositioning — it costs nothing and trains your eye faster than any gear purchase.
Use Light Painting to Capture Intricate Product Features
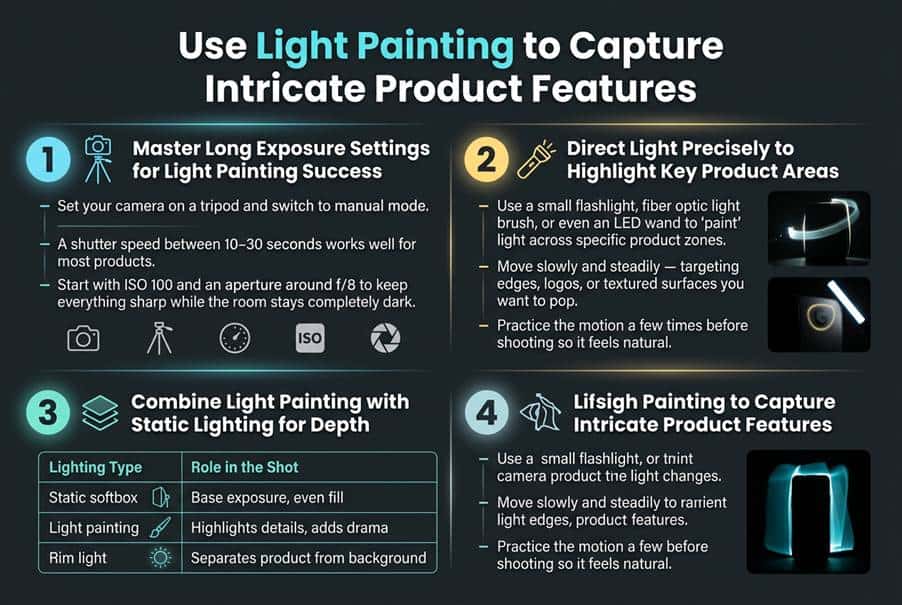
Master Long Exposure Settings for Light Painting Success
Set your camera on a tripod and switch to manual mode. A shutter speed between 10–30 seconds works well for most products. Start with ISO 100 and an aperture around f/8 to keep everything sharp while the room stays completely dark.
Direct Light Precisely to Highlight Key Product Areas
Use a small flashlight, fiber optic light brush, or even an LED wand to “paint” light across specific product zones. Move slowly and steadily — targeting edges, logos, or textured surfaces you want to pop. Practice the motion a few times before shooting so it feels natural.
Combine Light Painting with Static Lighting for Depth
Mixing techniques gives your shots real dimension:
| Lighting Type | Role in the Shot |
| Static softbox | Base exposure, even fill |
| Light painting | Highlights details, adds drama |
| Rim light | Separates product from background |
Run your static lights at a lower power so the painted light still stands out.
Edit Light Painted Shots to Enhance Final Results
In Lightroom or Photoshop:
- Boost clarity to sharpen painted areas
- Use luminosity masks to isolate highlights
- Blend multiple exposures in Photoshop for a cleaner, controlled final image
Optimize Your Lighting Setup for Consistent, Repeatable Shots
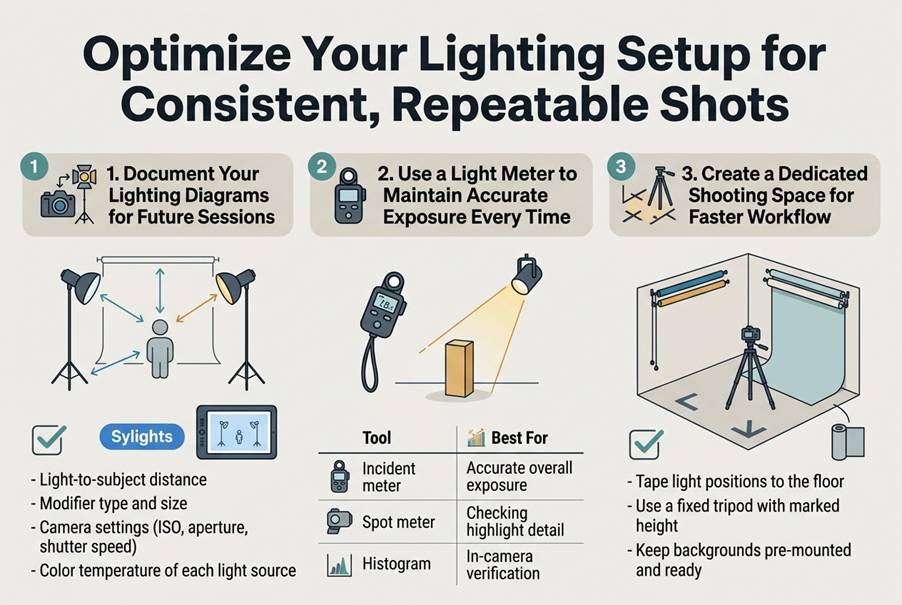
Document Your Lighting Diagrams for Future Sessions
Recreating a perfect shot six months later is nearly impossible without notes. Sketch your lighting positions, distances, and angles after every successful session. Free tools like Sylights let you build clean digital diagrams you can store alongside your photos.
Key details to record:
- Light-to-subject distance
- Modifier type and size
- Camera settings (ISO, aperture, shutter speed)
- Color temperature of each light source
Use a Light Meter to Maintain Accurate Exposure Every Time
Camera meters lie — especially with high-contrast product setups. A handheld incident meter reads the actual light falling on your subject, giving you consistent exposures across different shooting days, regardless of ambient changes.
| Tool | Best For |
| Incident meter | Accurate overall exposure |
| Spot meter | Checking highlight detail |
| Histogram | In-camera verification |
Create a Dedicated Shooting Space for Faster Workflow
A permanent setup cuts your prep time dramatically. Even a small corner with marked floor positions for your lights and a fixed camera mount removes guesswork entirely.
Quick wins for your space:
- Tape light positions to the floor
- Use a fixed tripod with marked height
- Keep backgrounds pre-mounted and ready
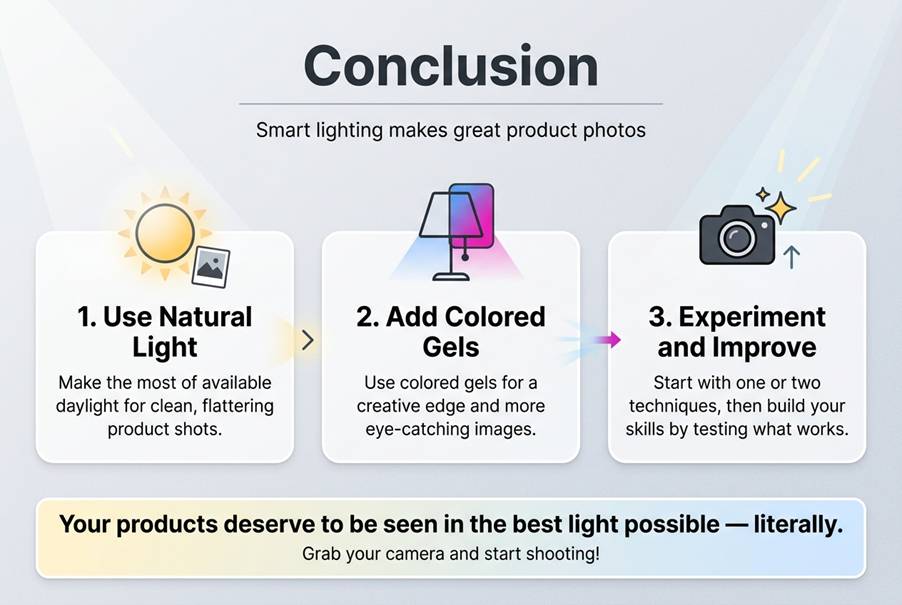
Great product photos don’t happen by accident — they’re the result of smart lighting choices that make your products look their absolute best. From making the most of natural light to using colored gels for a creative edge, each trick covered here gives you a practical way to level up your product shots without overcomplicating things.
Start by picking one or two techniques that match your current setup and build from there. The more you experiment, the faster you’ll develop an eye for what works. Your products deserve to be seen in the best light possible — literally — so grab your camera and start shooting!