Runs entirely in your browser

Free Image Upscaler
With No Upload, No Sign-Up, No Watermark

Drop in a photo, pick a size, and Loupe resamples it up to 4× with an edge-sharpening pass — instantly, on your device. Nothing is uploaded anywhere.

original Before
upscaled
Ready — tap
Upscale image
After
Before → After

Upscale your photo

Client-side resampling with an optional sharpen pass. No account, no upload.

Tap or drop an image here

JPG · PNG · WEBP

Browse files
image.jpg
0×0px
Change
Scale
Sharpen pass

What Image Upscaling Actually Is

“Upscaling” and “resizing” get used interchangeably, but they’re not the same thing.

Resizing (the plain kind, like dragging a corner handle in Word or Preview) just stretches the pixels you already have across a larger canvas. No new information is added — the computer is guessing what goes in the gaps by averaging nearby pixels. This is why a resized image looks soft: you’ve spread the same amount of detail over more space.

Upscaling is a more deliberate version of that same idea, using better math to decide what those in-between pixels should look like. There are a few tiers, roughly in order of quality:

  • Nearest neighbor — copies the closest pixel’s value. Fast, but blocky and jagged on curves.
  • Bilinear — blends between the two nearest pixels in each direction. Smoother, but blurs fine detail.
  • Bicubic — blends between a wider neighborhood of surrounding pixels using a smoother curve. This is what most professional editors (and Loupe) use by default, and it’s a meaningful step up from bilinear for photographic content.
  • AI / generative super-resolution — a neural network trained on millions of images predicts entirely new detail that wasn’t in the original file, rather than just interpolating between existing pixels.

That last one is worth pausing on, because it’s the source of a lot of marketing overpromise in this space.

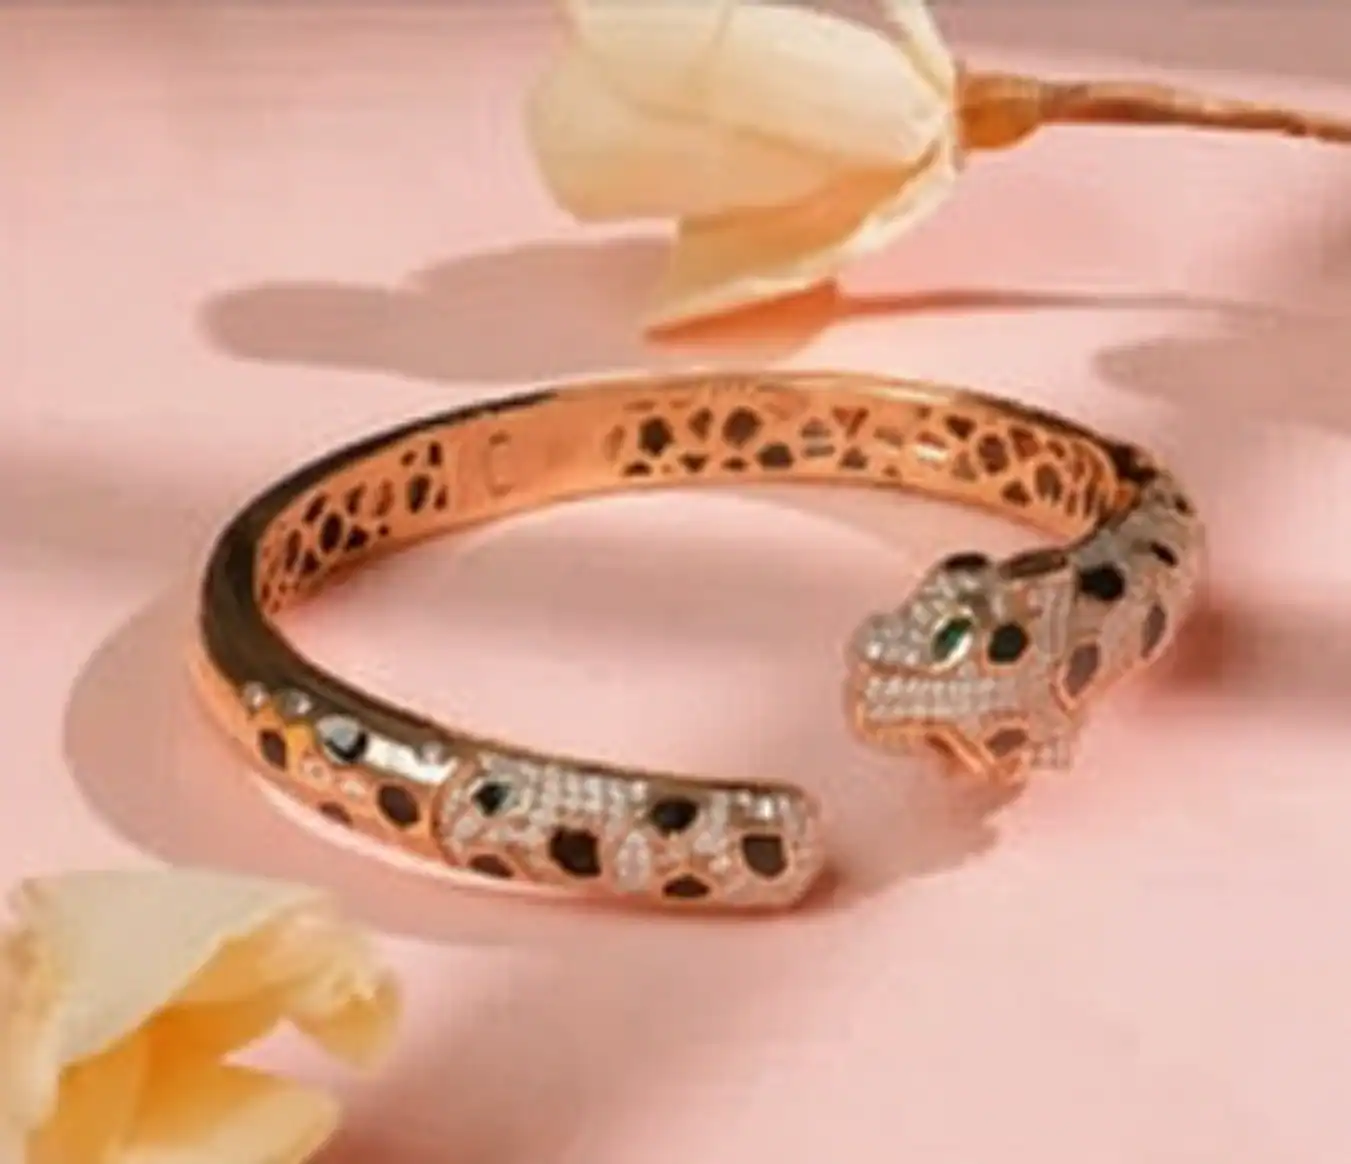
Low Quality imageDiamond wave-design bangle bracelet photography
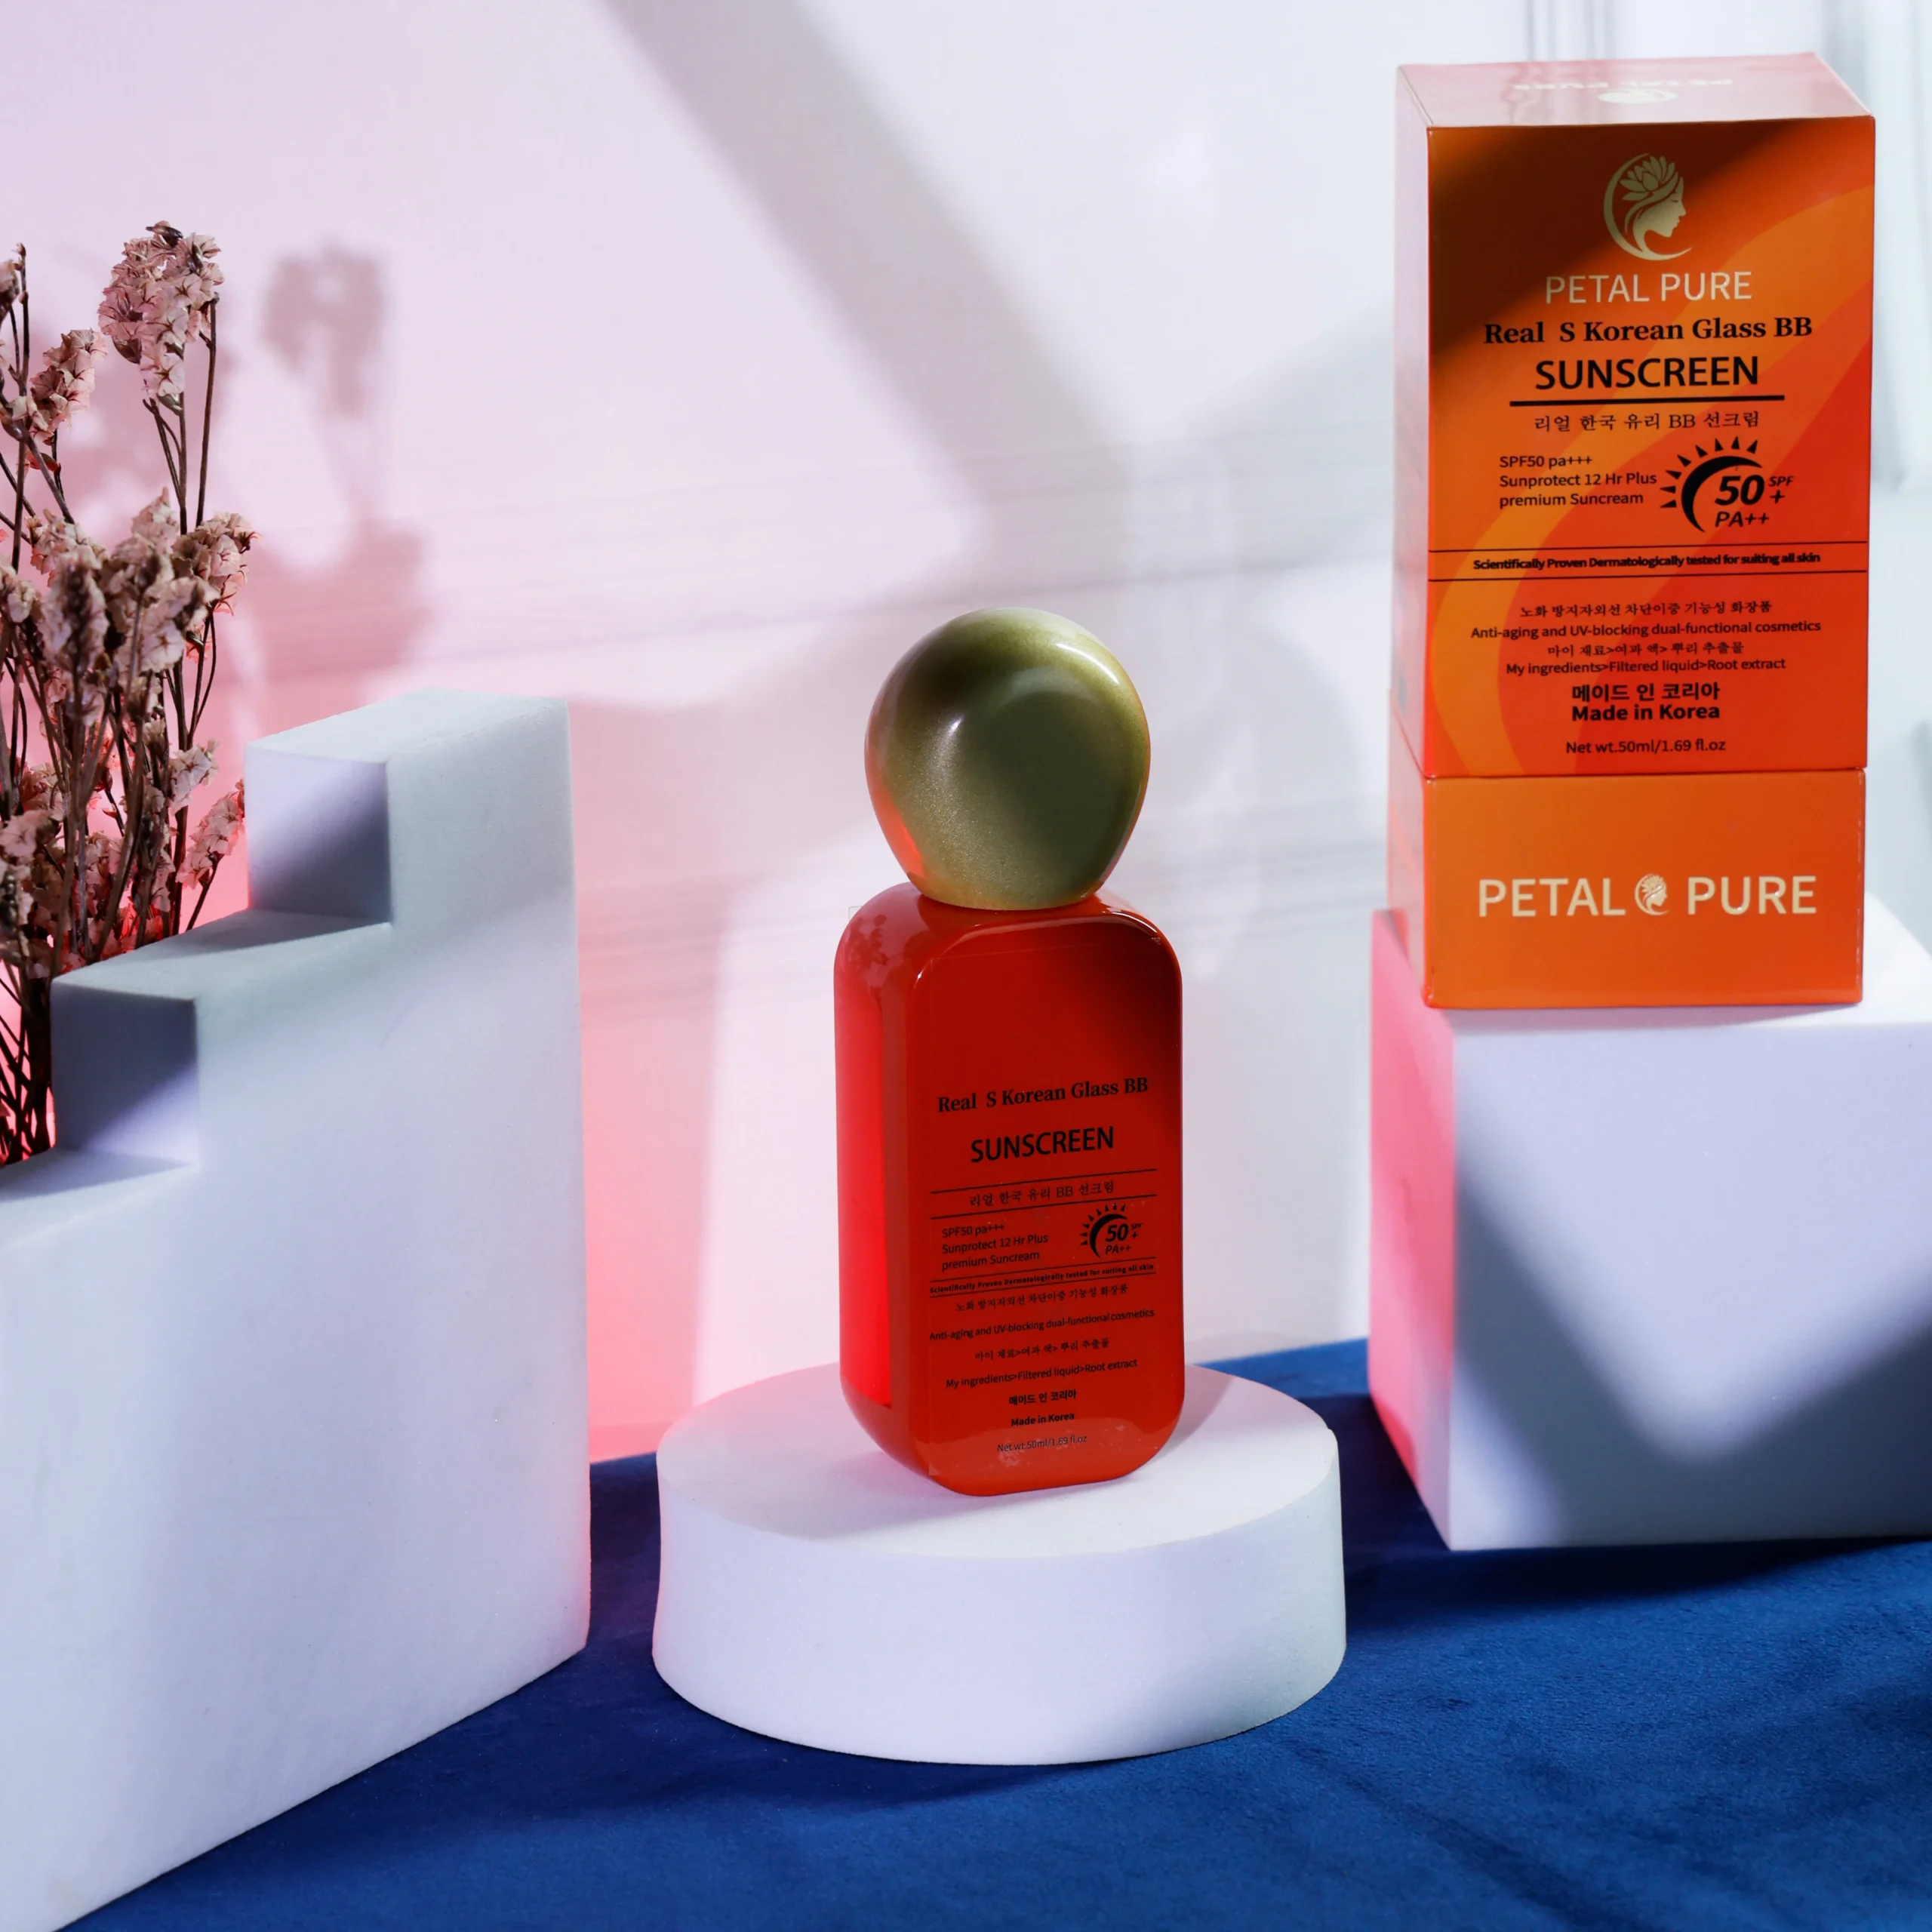
upscaling a blurry product photo 2x with LoupeCommercial photography studio in Delhi equipped with softbox lighting

The Honest Difference Between "Upscaled" and "AI-Generated"

Most “AI image upscaler” tools you’ll find online are doing generative reconstruction: the model looks at your image and invents plausible new texture, edges, and detail that technically wasn’t captured by the original camera or file. When it works well, the result is genuinely impressive — a blurry face can come back looking crisp. But it comes with real trade-offs:

  • Invented detail is a guess. On faces, text, and fine patterns, the model is filling in gaps with what’s statistically likely, not what was actually there. For anything where accuracy matters — a face that needs to still look like the person, a label that needs to say the right words — that’s a real risk, not a minor footnote.
  • Diminishing returns past 4x. Every tool in this space, including the premium ones, starts showing artifacts once you push scale ratios much higher than 4x on an already-low-quality source.
  • It usually means uploading your photo to someone’s server. Generative upscaling requires real compute, so almost every “free AI upscaler” processes your image remotely — which is fine for a random product photo, less fine for a personal or sensitive one.

How to Upscale an Image with Loupe

  1. Open the tool and drop your image in, or tap to browse your files. JPG, PNG, and WebP are all supported.
  2. Pick a scale — 2x, 3x, or 4x — depending on how much bigger you need the final image.
  3. Leave the sharpen pass on (it’s on by default) unless you specifically want a softer look. It runs an unsharp mask over the resampled image to recover edge definition.
  4. Hit Upscale image. Processing happens instantly on your device — there’s no upload step and no queue.
  5. Compare before and after using the drag slider, then download the result as a PNG.

That’s the whole workflow. No account, no watermark, no credits to track.

Choosing the Right Scale: 2x vs 3x vs 4x

  1. This is one of the most common points of confusion, so here’s a simple way to think about it:

    • 2x — for screens and social media. If your image already looks reasonably sharp and you just need it a bit bigger (a social post, a slide, a webpage hero image), 2x is usually plenty and gives the cleanest results.
    • 3x — for mid-size print or larger web use. A good middle ground when you’re prepping something for a flyer, a larger web banner, or a moderately sized print.
    • 4x — for posters, large prints, and maximum enlargement. This is where source quality matters most. A clean, well-lit, in-focus photo will hold up well at 4x. A compressed screenshot or an already-blurry photo will show its limitations more obviously the further you push it.

    Rule of thumb: the better your starting image, the further it stretches. Upscaling can make existing detail bigger and crisper — it’s not a substitute for a good source photo.

Common Use Cases

  • E-commerce product photos. Marketplaces and storefronts often require minimum image dimensions. If a supplier only gave you a small product shot, upscaling it to meet a platform’s size requirement (while keeping edges and packaging text clean) is one of the most common real-world uses of this kind of tool.
  • Old or small family photos. Scanned or downloaded photos are often much smaller than you’d like for printing or sharing. A 2x or 3x pass with sharpening can make a real, noticeable difference for casual printing and display.
  • Presentations and slide decks. Pulling a chart or screenshot into a slide often means it was captured much smaller than the screen it’ll be projected on. Upscaling before you paste it in avoids the blurry-slide problem.
  • Print prep. If you’re prepping something for physical print, resolution needs to be judged in DPI (dots per inch), not just pixel dimensions. Standard print quality is around 300 DPI at the final printed size; posters and large-format prints viewed from a distance can get away with 150–225 DPI. Upscale to the pixel dimensions that match your target DPI at your intended print size, then check the result at 100% zoom before sending it to print.
  • AI-generated images. If you’ve generated an image with an AI art tool and it came out smaller than you need, a resampling upscaler is a fast way to prepare it for a larger canvas, print, or wallpaper use without introducing a second layer of generative guesswork on top of the first.

Getting the Best Results

  • Start with your best available original. Upscaling a heavily compressed JPEG or a screenshot of a screenshot will always show its limits sooner than a clean source file.
  • Don’t stack upscales. Upscaling an already-upscaled image compounds softness. If you need a bigger final size, go back to the original and upscale once at the ratio you actually need.
  • Use the sharpen pass, but check faces and text at 100% zoom before you finalize — sharpening improves edge definition generally, but it’s worth a quick visual check on any critical detail.
  • Match your scale to your actual use case. There’s no benefit to maxing out at 4x if your image only needs to be twice as big — you’re just creating a larger file for no reason.

Frequently Asked Questions

Is Loupe actually free?

Yes. There's no sign-up, no watermark, and no credit limit — it's a free tool built by FRT Studios.

Does my image get uploaded anywhere?

No. Loupe processes everything locally in your browser using your device's own resources. Your image is never sent to a server.

What's the difference between resizing and upscaling?

Resizing just stretches existing pixels across a larger canvas, which looks soft. Upscaling uses better interpolation (and optionally AI reconstruction) to produce a cleaner, sharper enlargement.

Will this work for print?

Yes, for reasonable enlargements. Match your output pixel dimensions to your target print size and DPI (300 DPI for close-viewing prints, 150–225 DPI for posters and large-format prints viewed from a distance).

What's the maximum scale?

Loupe supports up to 4x. Beyond that, results depend heavily on your source image quality, and most tools — including generative ones — start showing artifacts.

What's the maximum scale?

Loupe supports up to 4x. Beyond that, results depend heavily on your source image quality, and most tools — including generative ones — start showing artifacts.

Does it work on mobile?

Yes. Loupe is fully responsive and works on phones, tablets, and desktops.

Will it fix a very blurry or low-res face?

Resampling and sharpening will make an already-decent photo look cleaner and bigger, but it won't invent detail that isn't in the source. Heavily blurred faces or badly compressed images are better suited to a generative AI restoration tool, which reconstructs (rather than sharpens) detail — and comes with the trade-offs described above.